On Android phones, having a camera that supports RAW files is already something to be grateful for. Most cameras output nothing more than JPEG or PNG. As resolutions get higher, files usually start at around 4MB.
Why not save photos directly in high-efficiency formats such as AVIF/HEIC/HEIF when taking them? Maybe that will be supported in the future. AVIF is newer and more appealing than HEIC.
Before that, we can play with Termux’s camera feature first, taking photos as JPEG and immediately converting them to near-lossless AVIF.
This is the protagonist, Beishang, taken with Sony’s built-in camera.

Install Termux and install Termux API. Install the termux-api and Image Magick packages:
pkg update
pkg install termux-api imagemagick
Use the termux-camera-info command to view camera information. It should print a JSON string and mark the lens IDs on the phone. For example, I have 1 front camera + 3 rear cameras, corresponding to IDs 0 through 4.
[
  {
    "id": "0",
    "facing": "back",
    "jpeg_output_sizes": [
      {
        "width": 4032,
        "height": 3024
      },
    ],
    "focal_lengths": [
      5.110000133514404
    ]
  },
  {
    "id": "1",
    "facing": "front",
    "jpeg_output_sizes": [
      {
        "width": 3264,
        "height": 2448
      },

    ],
    "focal_lengths": [
      2.4700000286102295
    ]
  },
  {
    "id": "2",
    "facing": "back",
    "jpeg_output_sizes": [
      {
        "width": 4032,
        "height": 3024
      }
    ],
    "focal_lengths": [
      5.110000133514404
    ]
  },
  {
    "id": "3",
    "facing": "back",
    "jpeg_output_sizes": [
      {
        "width": 4288,
        "height": 3216
      }
    ],
    "focal_lengths": [
      6.949999809265137
    ]
  },
  {
    "id": "4",
    "facing": "back",
    "jpeg_output_sizes": [
      {
        "width": 4032,
        "height": 3024
      },
    ],
    "focal_lengths": [
      2.6700000762939453
    ]
  }
]
How do you take photos when Termux has no GUI? Strike a pose and go by feel. If you want to roughly see what the lens will capture, download OpenCamera and switch lenses there.

Next is the photo-taking command! Termux calls the camera (-c followed by the lens ID) to take a photo and output a jpeg image, with no other adjustable options. Then it passes that file to Image Magick to convert it to AVIF. The final command deletes the jpeg.
termux-camera-photo -c 0 temp.jpeg && magick convert temp.jpeg -quality 90 out.avif && rm temp.jpegWhen taking the photo, you may hear the lens operating sound, and Android 12 will also show camera access. Conversion takes about 10 seconds.

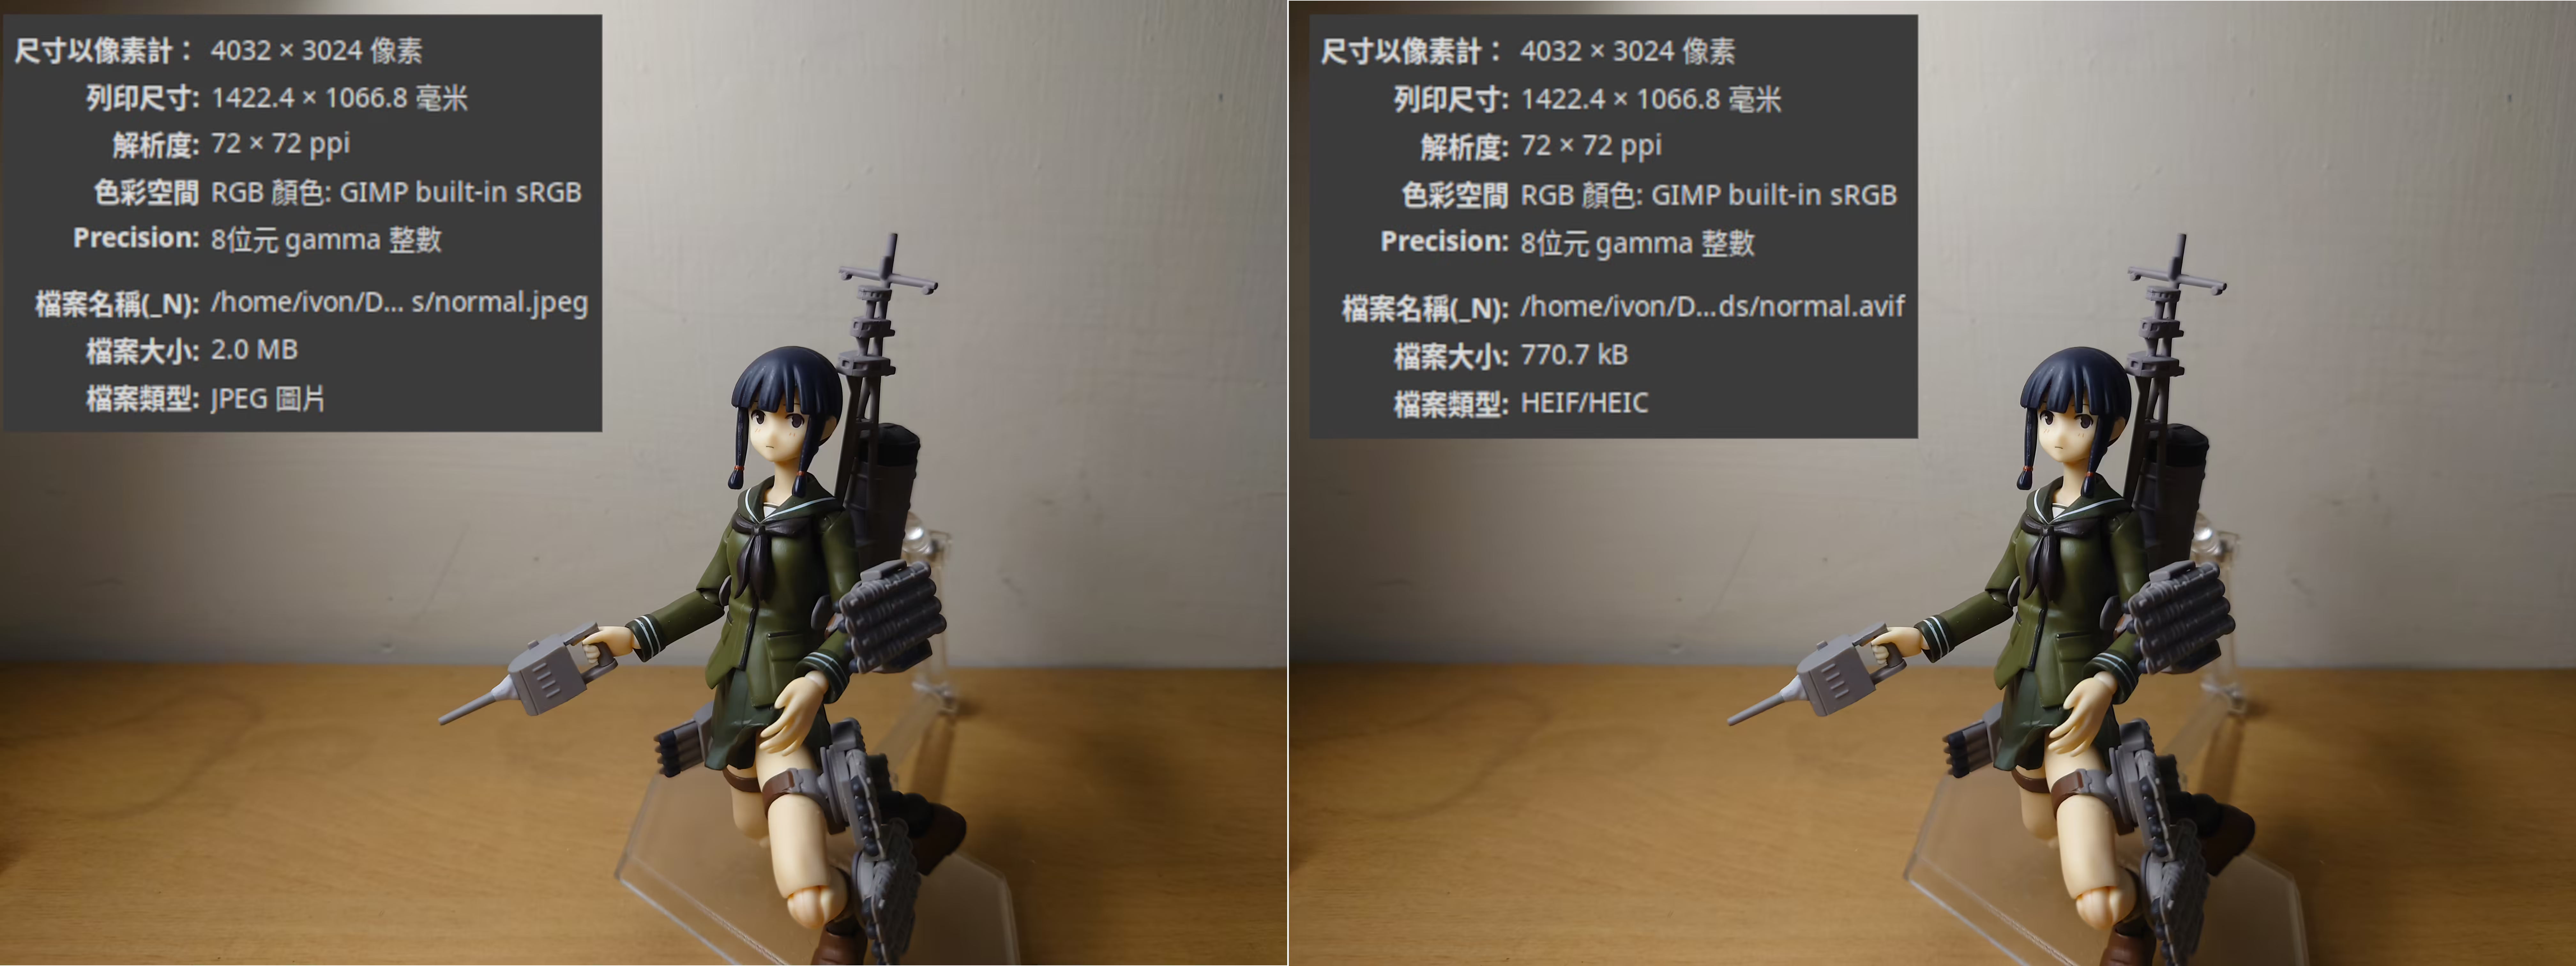
After taking the photo, retrieve the file from Termux’s home directory. After converting JPEG (left) to AVIF (right), the size is reduced by more than half. (Note: AVIF color mapping is weird on my phone; it only looks accurate on a Linux computer)
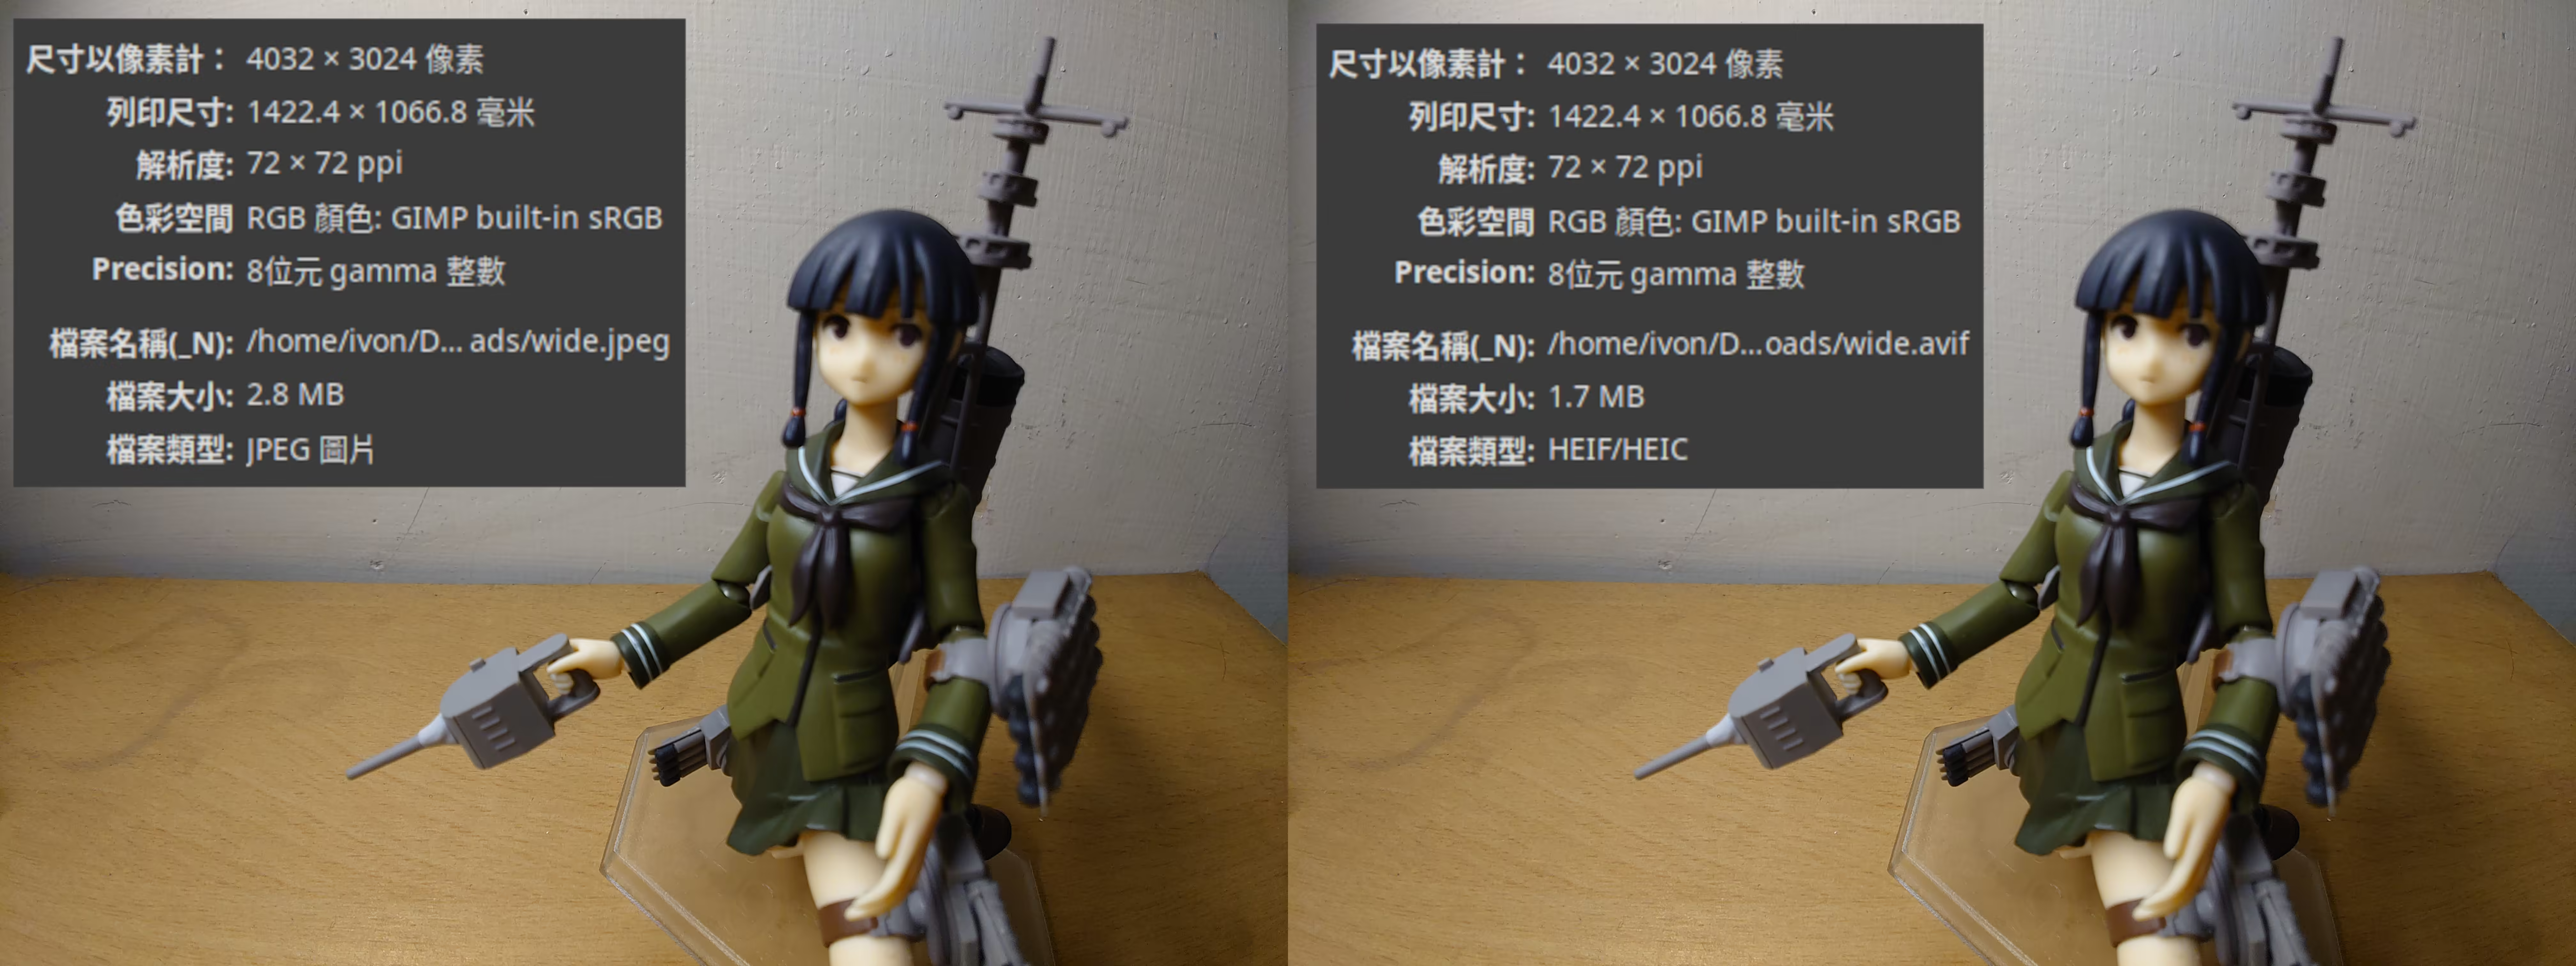
Trying the No. 3 wide-angle lens gives it a different flavor too.
Of course, converting the file to Apple’s HEIC is also possible, but the file becomes larger instead XD.
If this is so troublesome, why not just take photos normally and batch-convert them afterward? Good question. Please see Convert images to AVIF in command lines